Organization Setup
An "organization" in Edge is a secure, separate space within which you can manage applications, files, compute profiles, and more. Keep in mind that in Edge, a user can belong to more than one organization.
Making a new organization
To get started, on the Service Admin Dashboard, select "Organizations" from the sidebar:
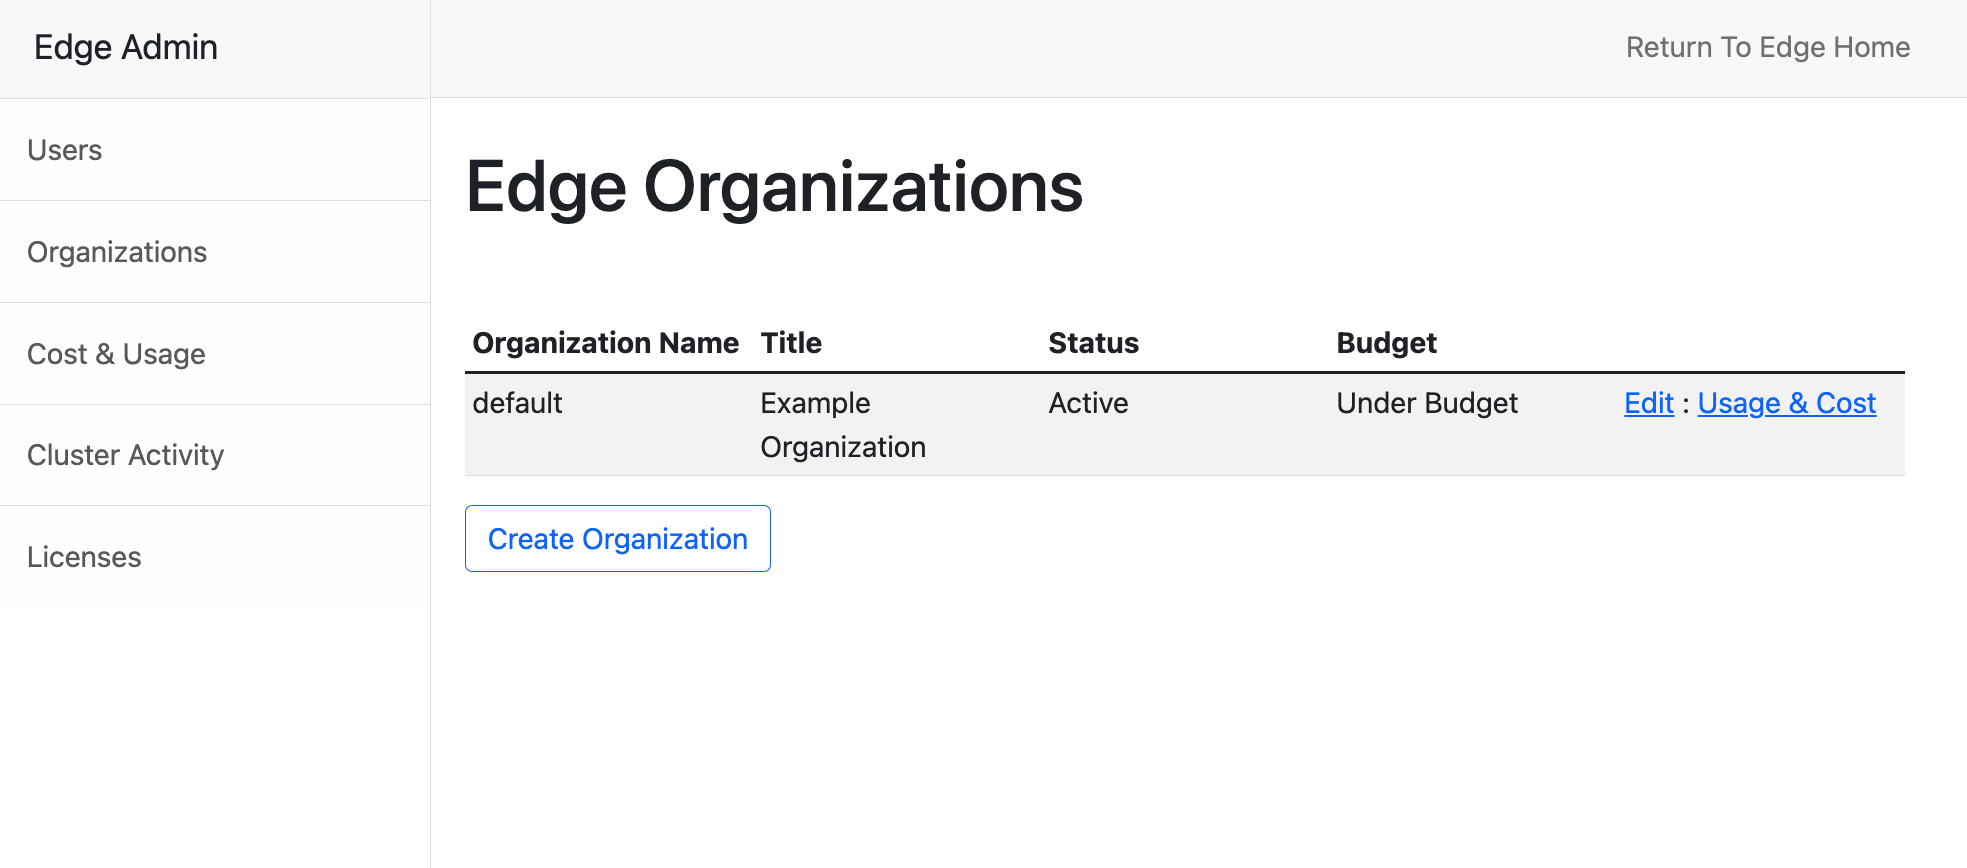
Step 1: Create the organization
The "create organization" button will prompt you for a name and description. The name will be used in the URL bar, and should be a short but recognizable string like "myorg". The description will be used in the Workbench title bar, and can be something like "My Organization":
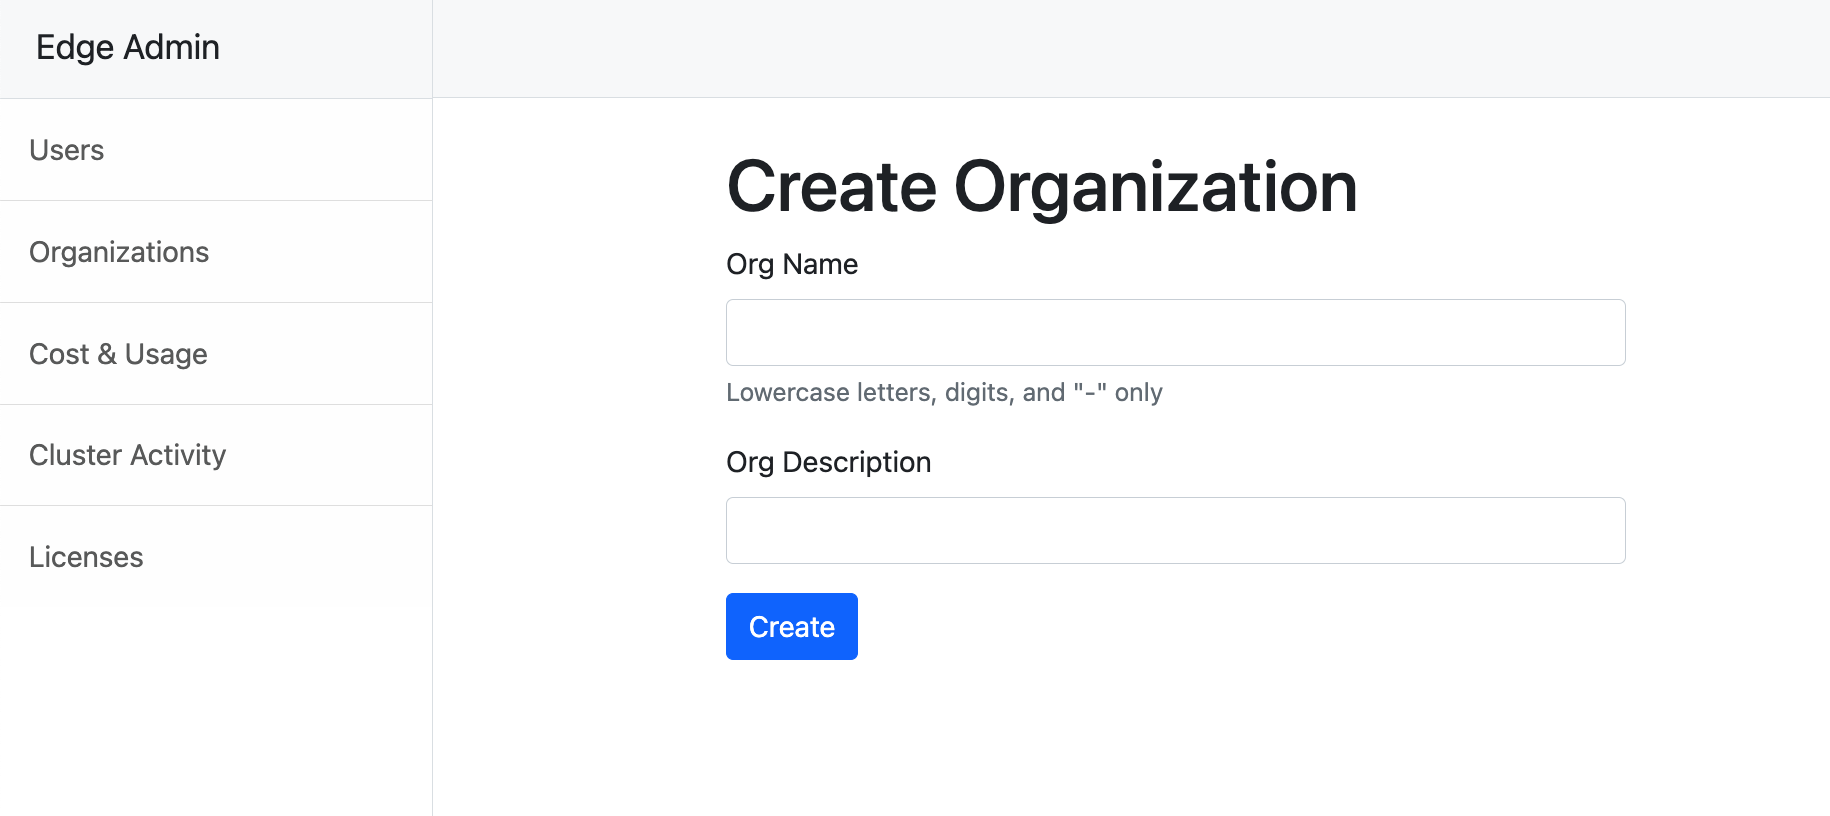
Step 2: Add Users
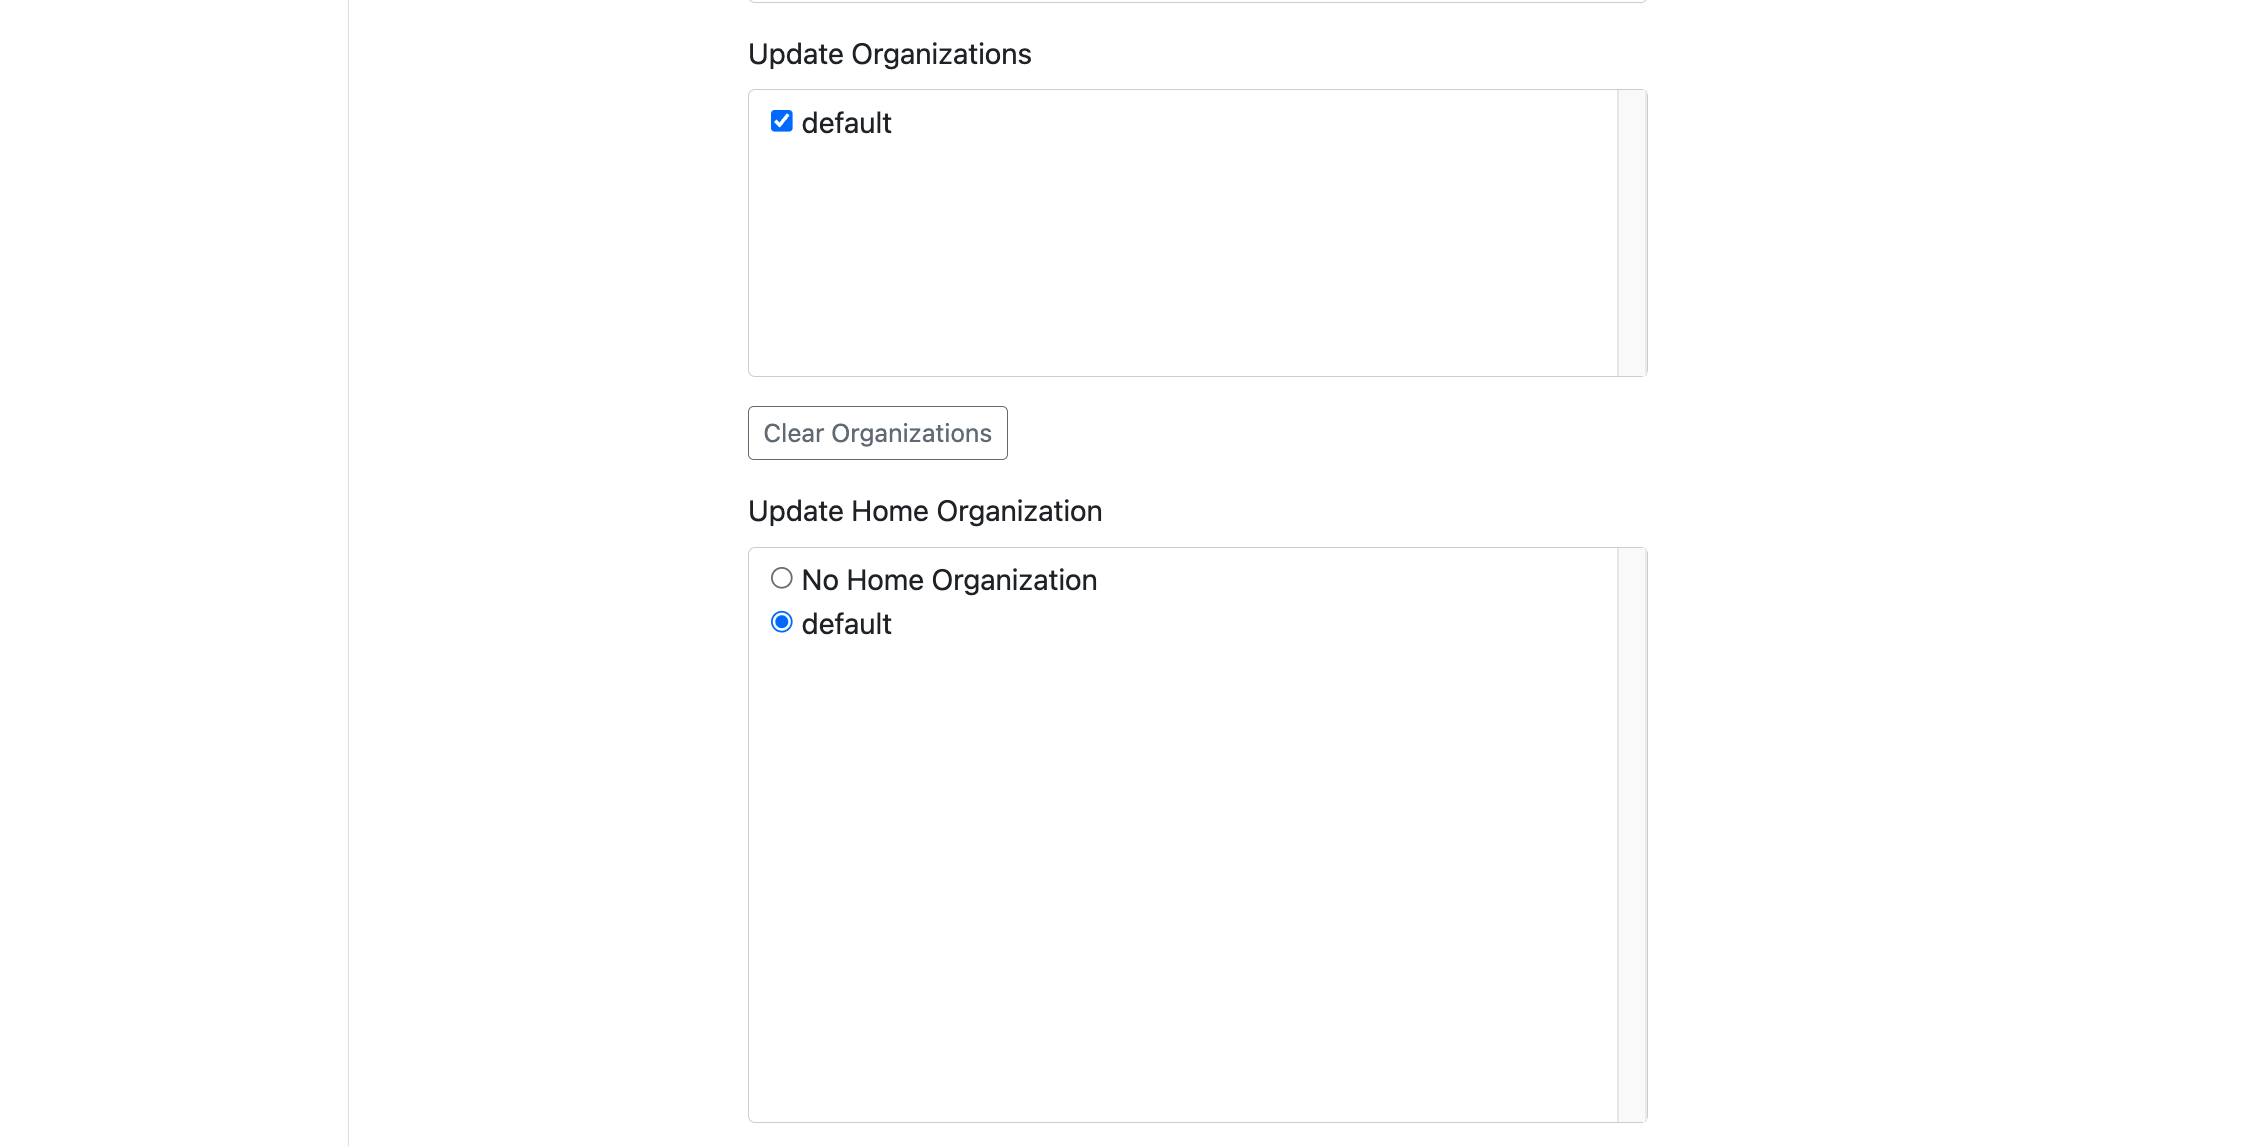
It's useful to add at least one user to the organization once it's created. You can do this by going to the user's profile ("Users" in the server admin dashboard sidebar), clicking "Edit", and then selecting the new org in their "Update Organizations" listbox.
If you want the new organization to be a user's "home" org, you can set that using the "Update Home Organization" listbox.
Step 3: Adjust user roles (optional)
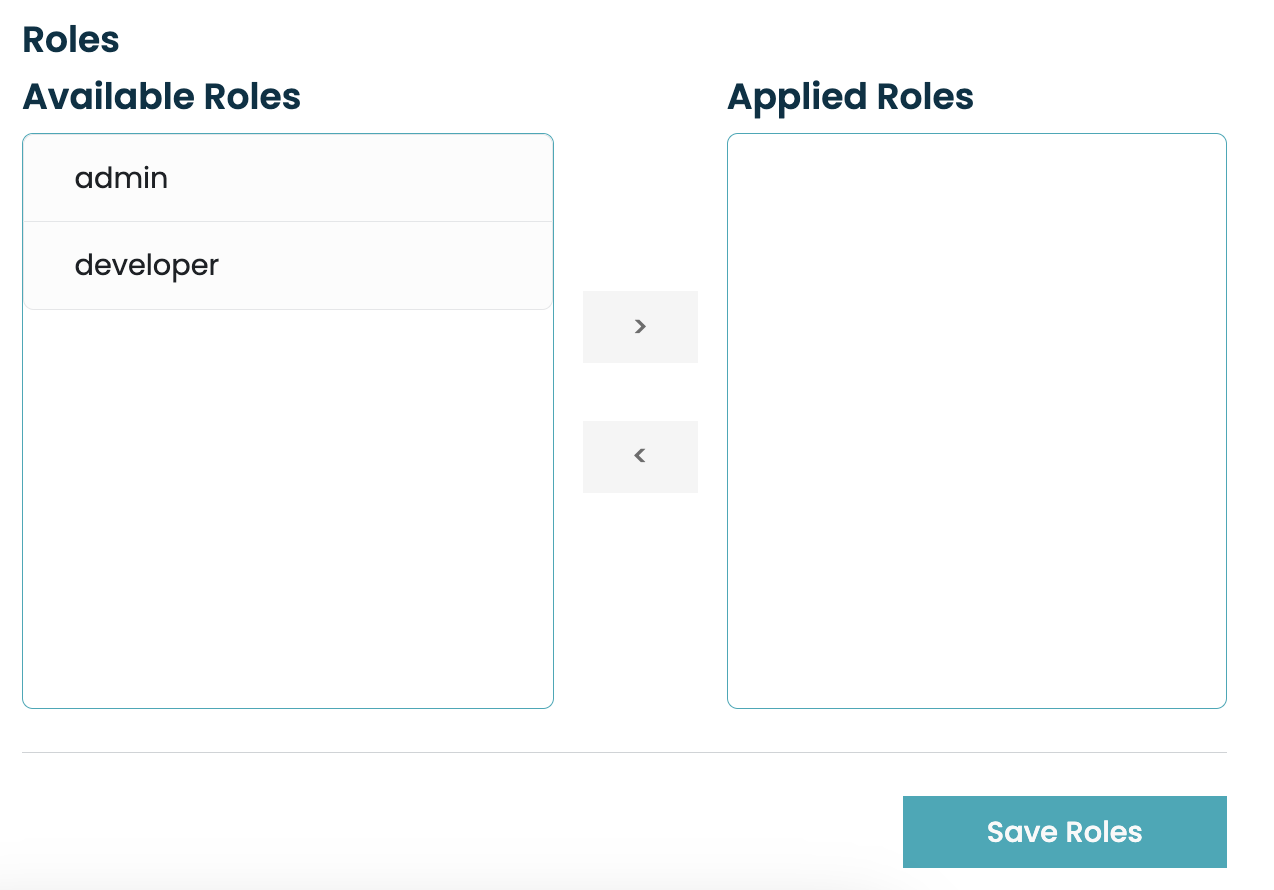
By default, the users that you add to the org will not have the ability to administer the org ("org admin" role) or the ability to contribute new applications ("developer" role).
If you would like to assign admin or developer roles to a user for the new org, navigate to the Scientific Workbench for the new org and click the "gear" icon to open the Settings page. Then, select the user (under "Roles" or "User Management") and assign the desired role(s). More information is available in the User Settings documentation.
Editing organization settings
These are some of the settings you can adjust for an existing organization, after it's created. Selecting "Edit" for an organization brings up a page where you can change the following:
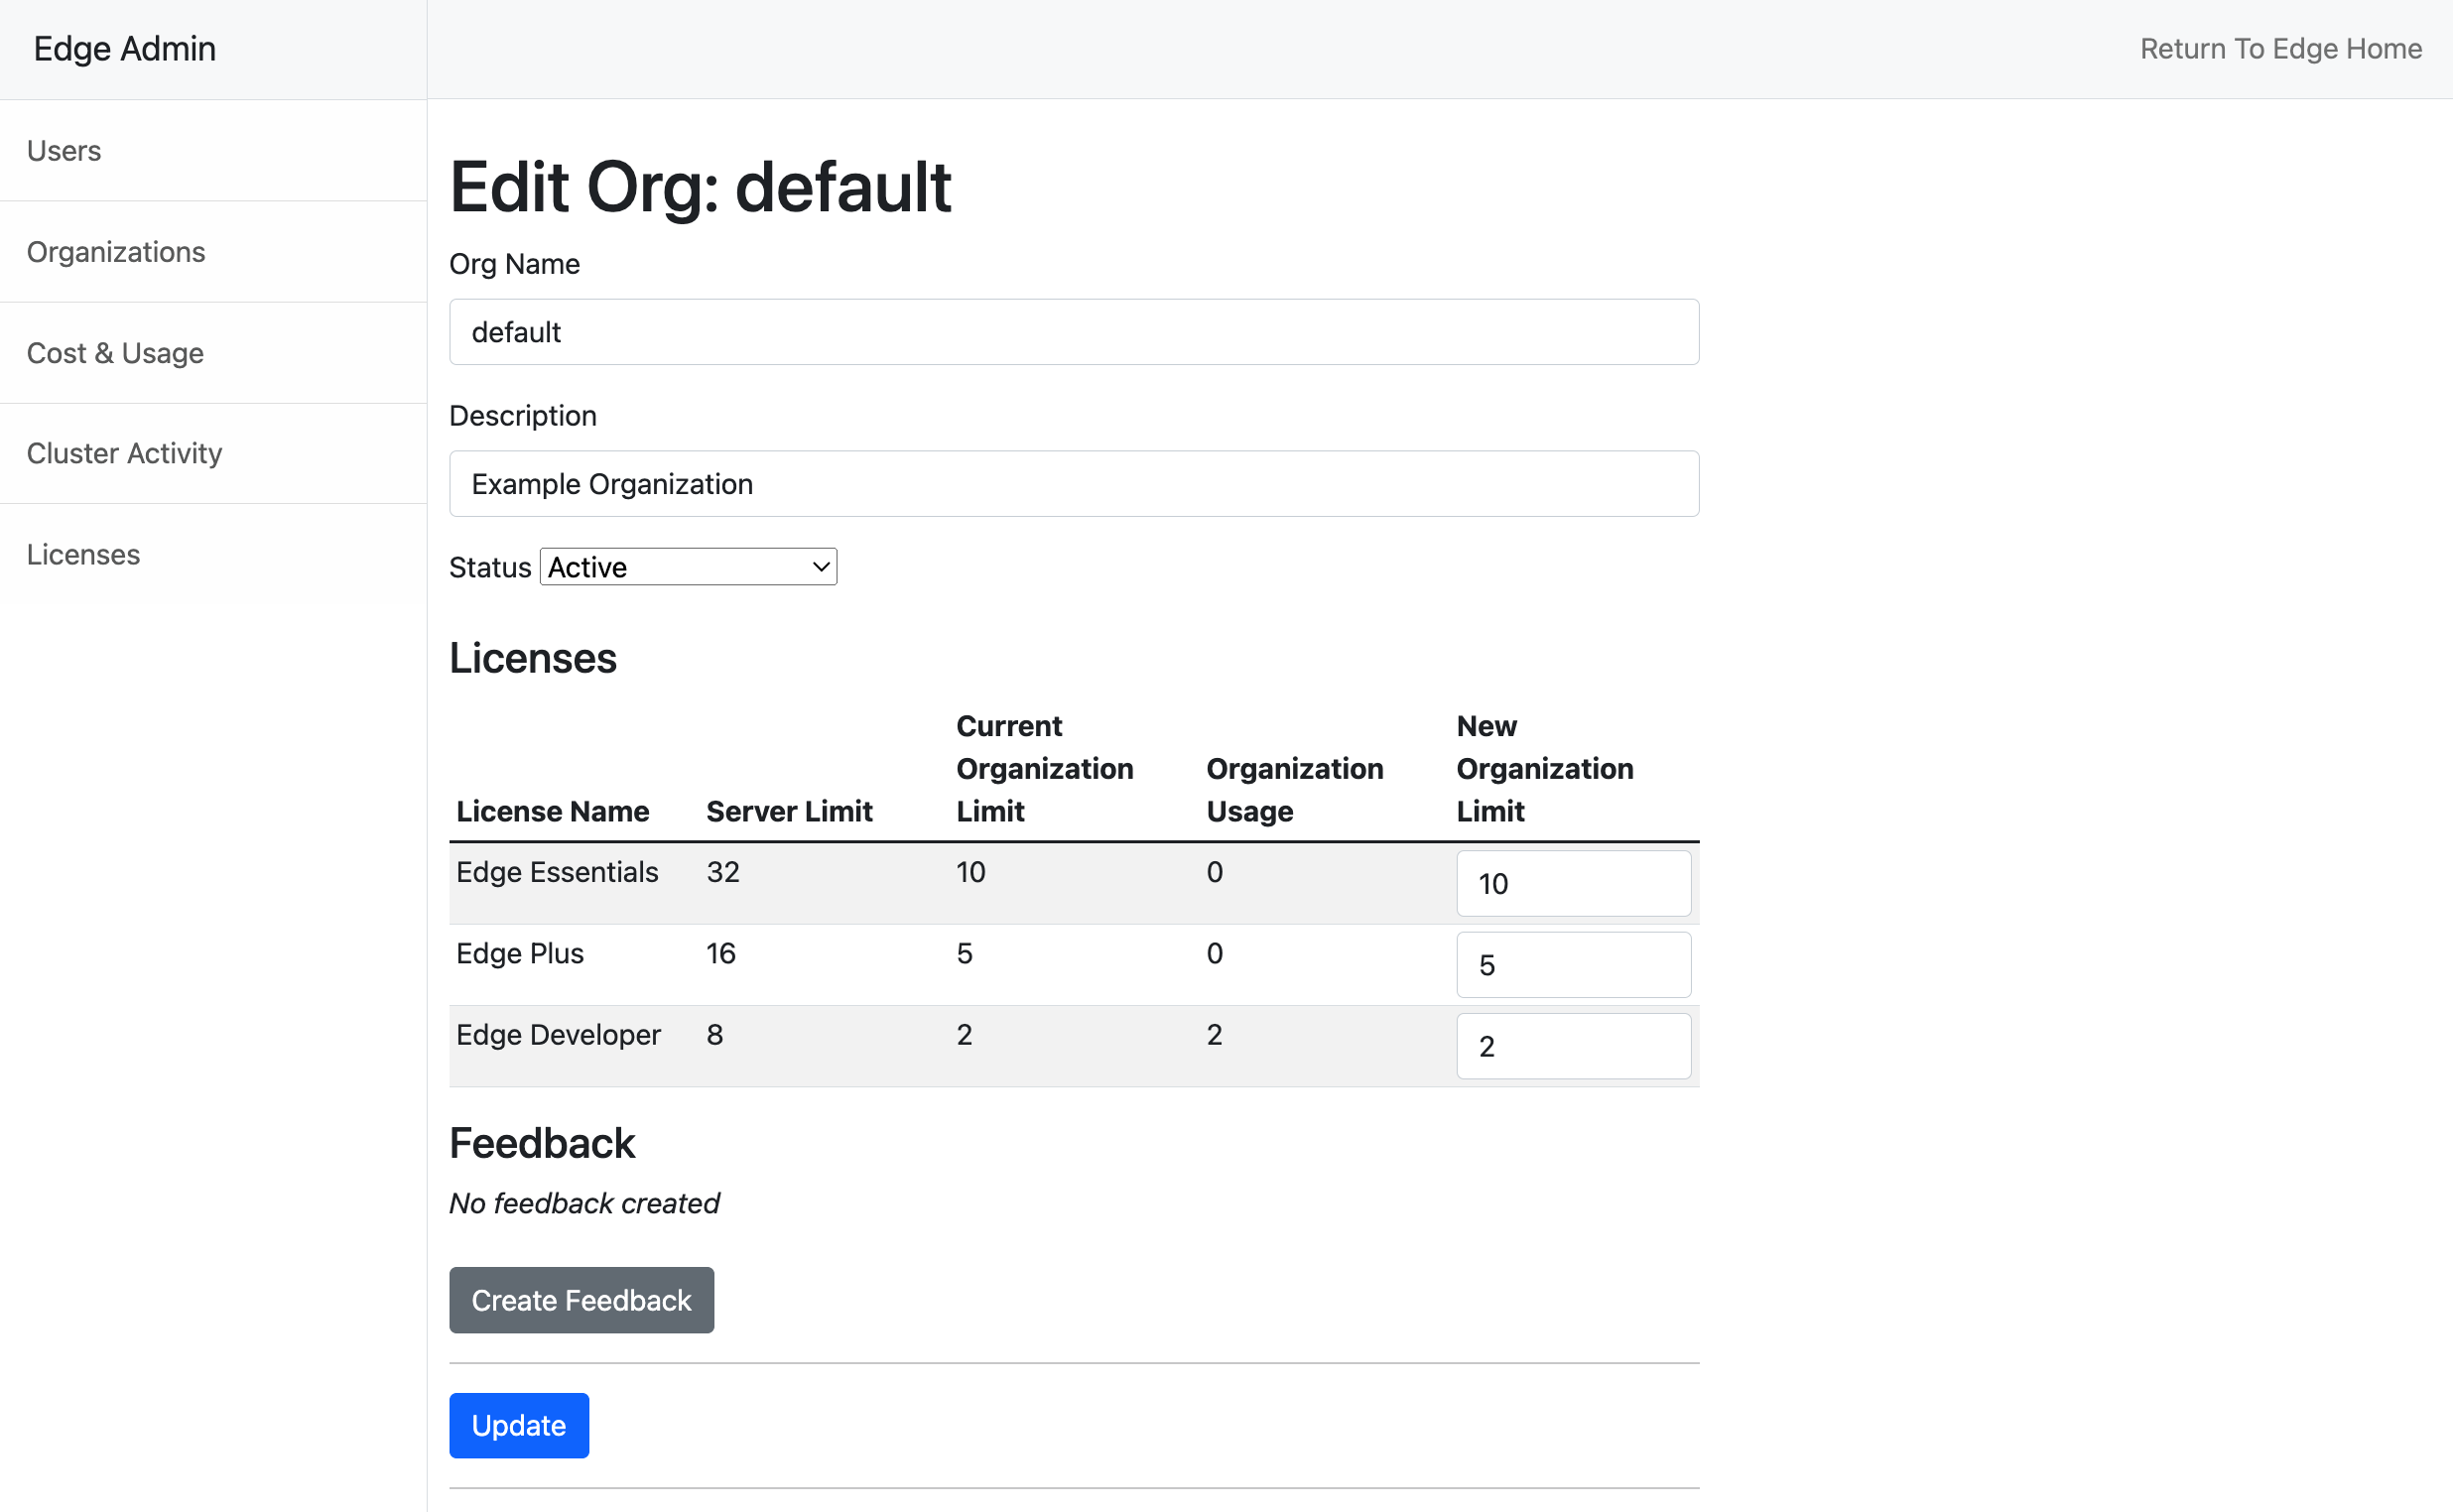
Description
Used in organization-select dialog, and as the title in the "breadcrumbs"
display on the Scientific Workbench.
Status
Reflects whether app launch is enabled or disabled for this organization. An
organization admin can optionally configure a budget to disable new app launch
once a budget is exceeded.
Licenses
This shows the current license quota (Organization Limit) for the selected organization. You can set any quota up to the Server Limit, which is set by the loaded license file from Enthought.
Services
This shows which services are approved for use in an organization.
Feedback
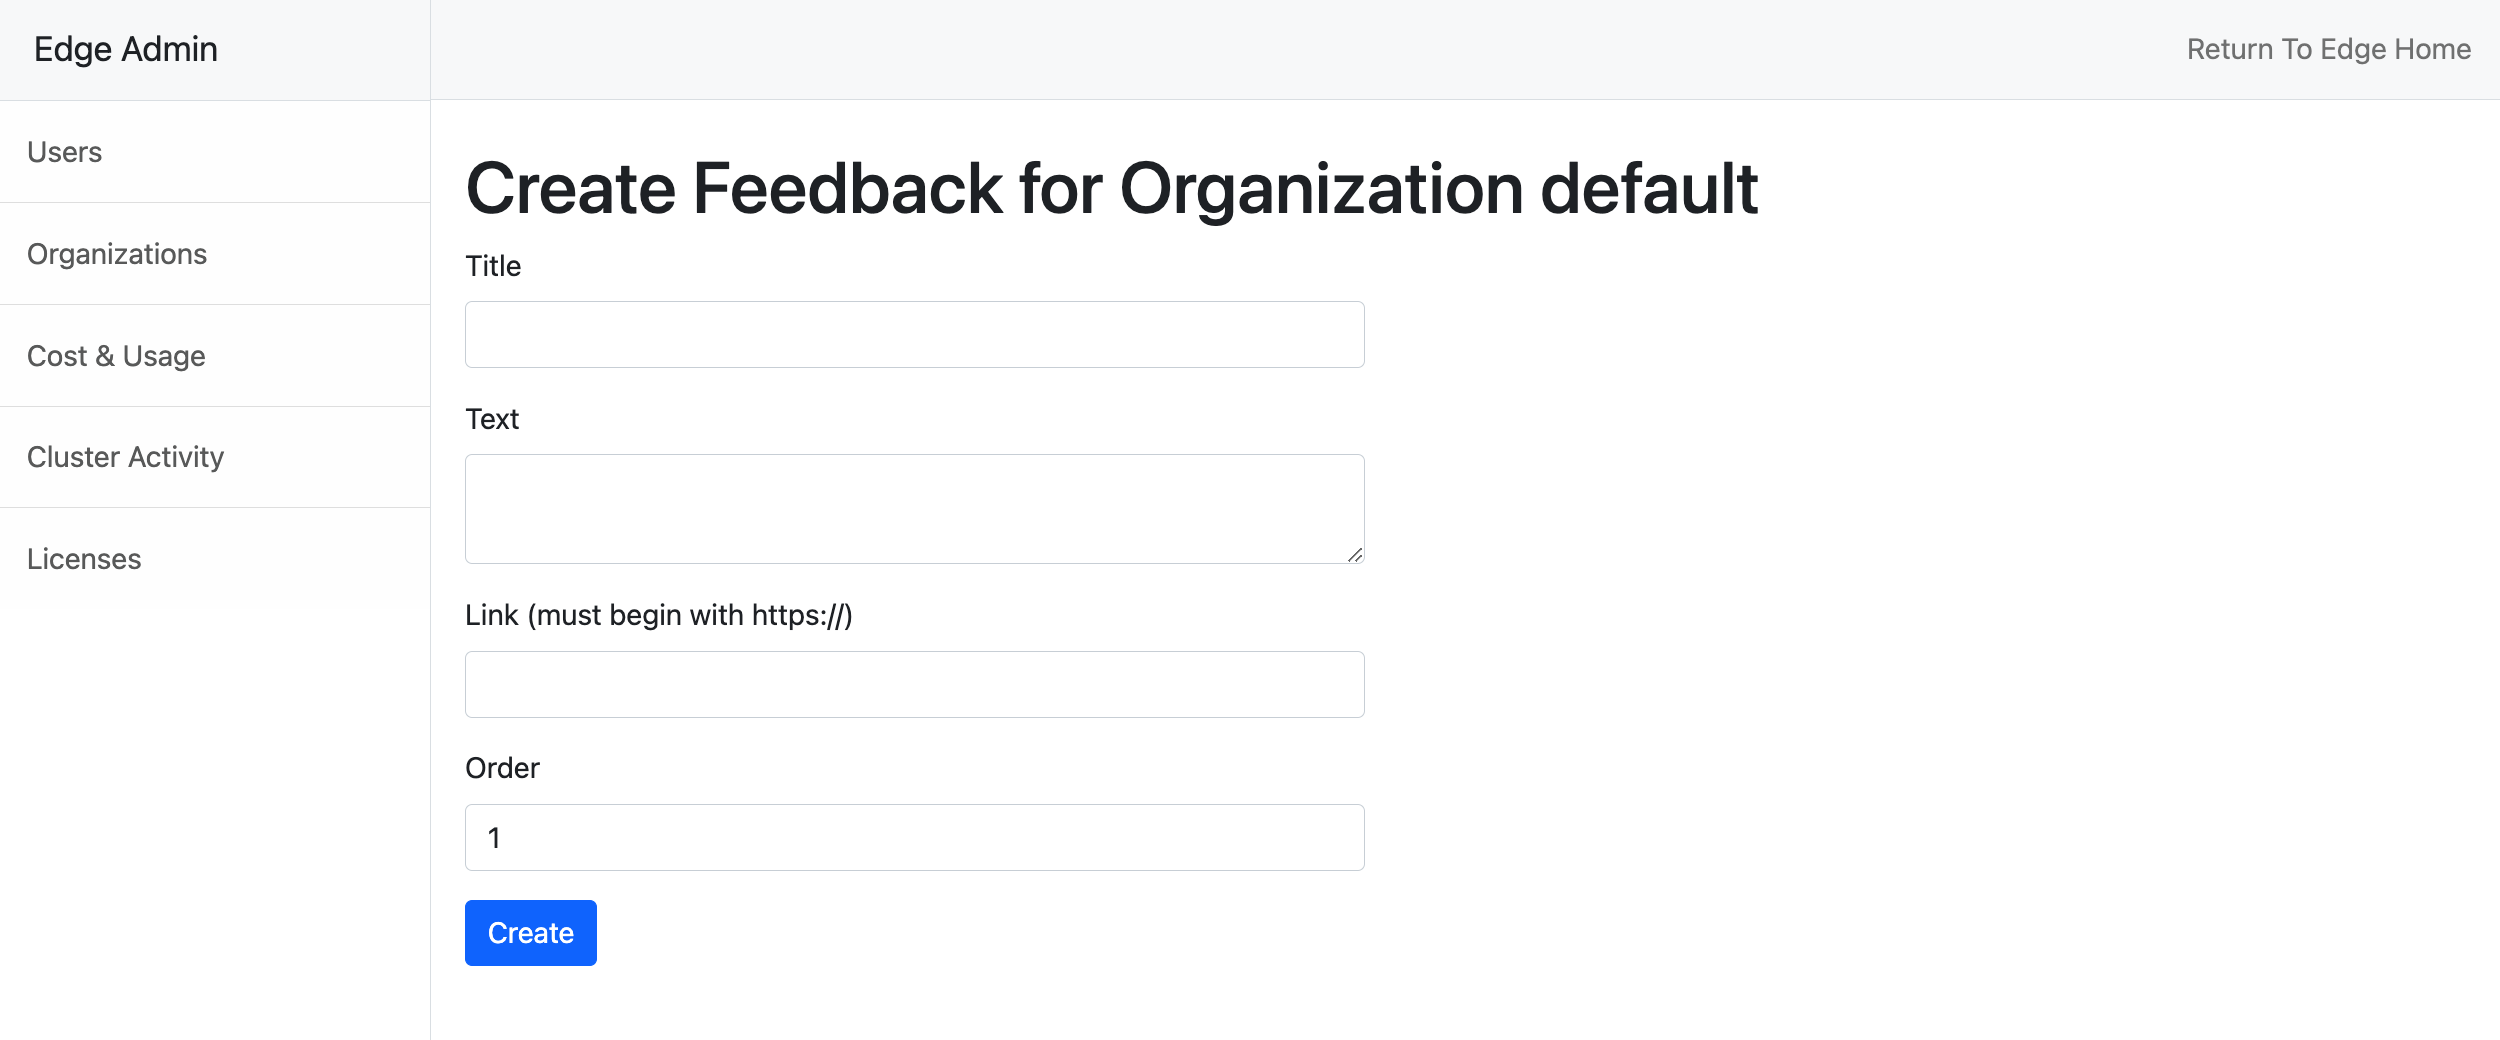
Configuring "Feedback" for an organization controls the appearance of the Help menu in the lower left corner of the Scientific Workbench. You can use this to add instructions/links for contacting support:
Title
Will be displayed as the dialog title when the user selects the Help button.
Text
Plain text to be displayed.
Link
Link to e.g. a ticketing system or bug tracker. This will be displayed under
the text.
Order
If multiple feedback items are configured, this controls their display order
in the dialog.
