Kubernetes Apps on Edge
Kubernetes Apps on Edge are traditional web applications that run on the Edge Kubernetes cluster and are registered on Edge, meaning they have an application tile on the Edge Scientific Workbench as the user's entry point. While Edge hosts and monitors Kubernetes Apps, it does not manage the lifecycle of these applications.
Clicking on the application tile in Edge redirects users to the app's entry point. The application's URL is served under the Edge deployment hostname. Edge ensures that only authorized users have access to the application.
Why integrate Kubernetes apps with Edge?
Registering Kubernetes apps allows you to better centralize and track your R&D workflows, resulting in the following benefits:
Provide a single location to access all data, notebooks, and applications for a project. This significantly eases onboarding new team members and reduces time spent searching for data, documents, and URLs.
Track usage for native apps as well as the Kubernetes apps that run in the Edge cloud environment. By keeping you on top of your cloud footprint on a single dashboard, you can manage available computational resources and avoid exceeding a limited budget.
Facilitate compliance with organizational, institutional, or governmental data policies and prevent loss of data or intellectual property through the use of unsecured data channels or applications.
Focus your development team's efforts on the domain-specific issues the application solves without having to manage authentication/security, billing, monitoring, and integration with the rest of the Edge ecosystem.
Add a Kubernetes App to the Workbench
Step 1: Create an Application Record
In the Edge Workbench, access the Settings page via the "gear" icon in the upper right-hand corner:
![]()
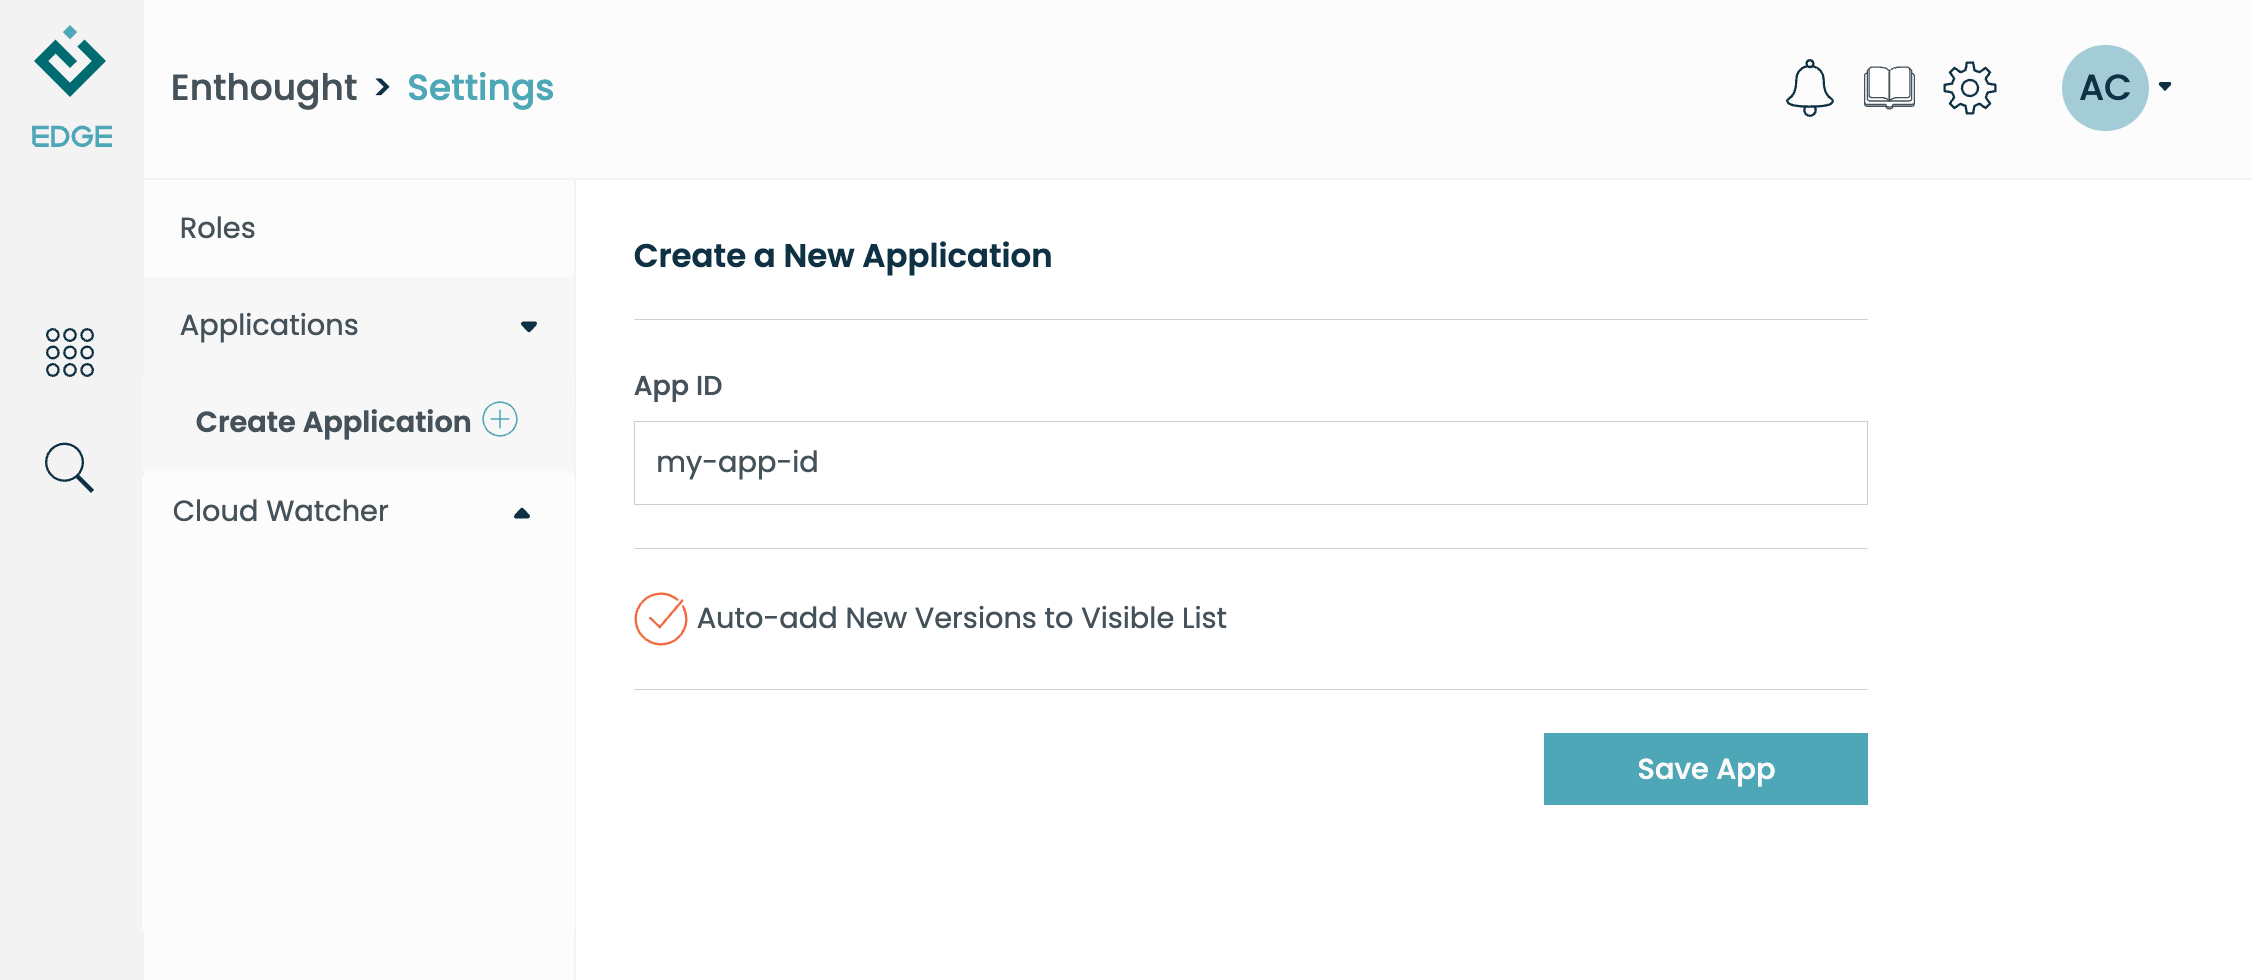
Then, click "Create Application". You will need to provide a short identifier.
This isn't user-visible, so something like my-app-id is appropriate.
Finally, click "Save App":
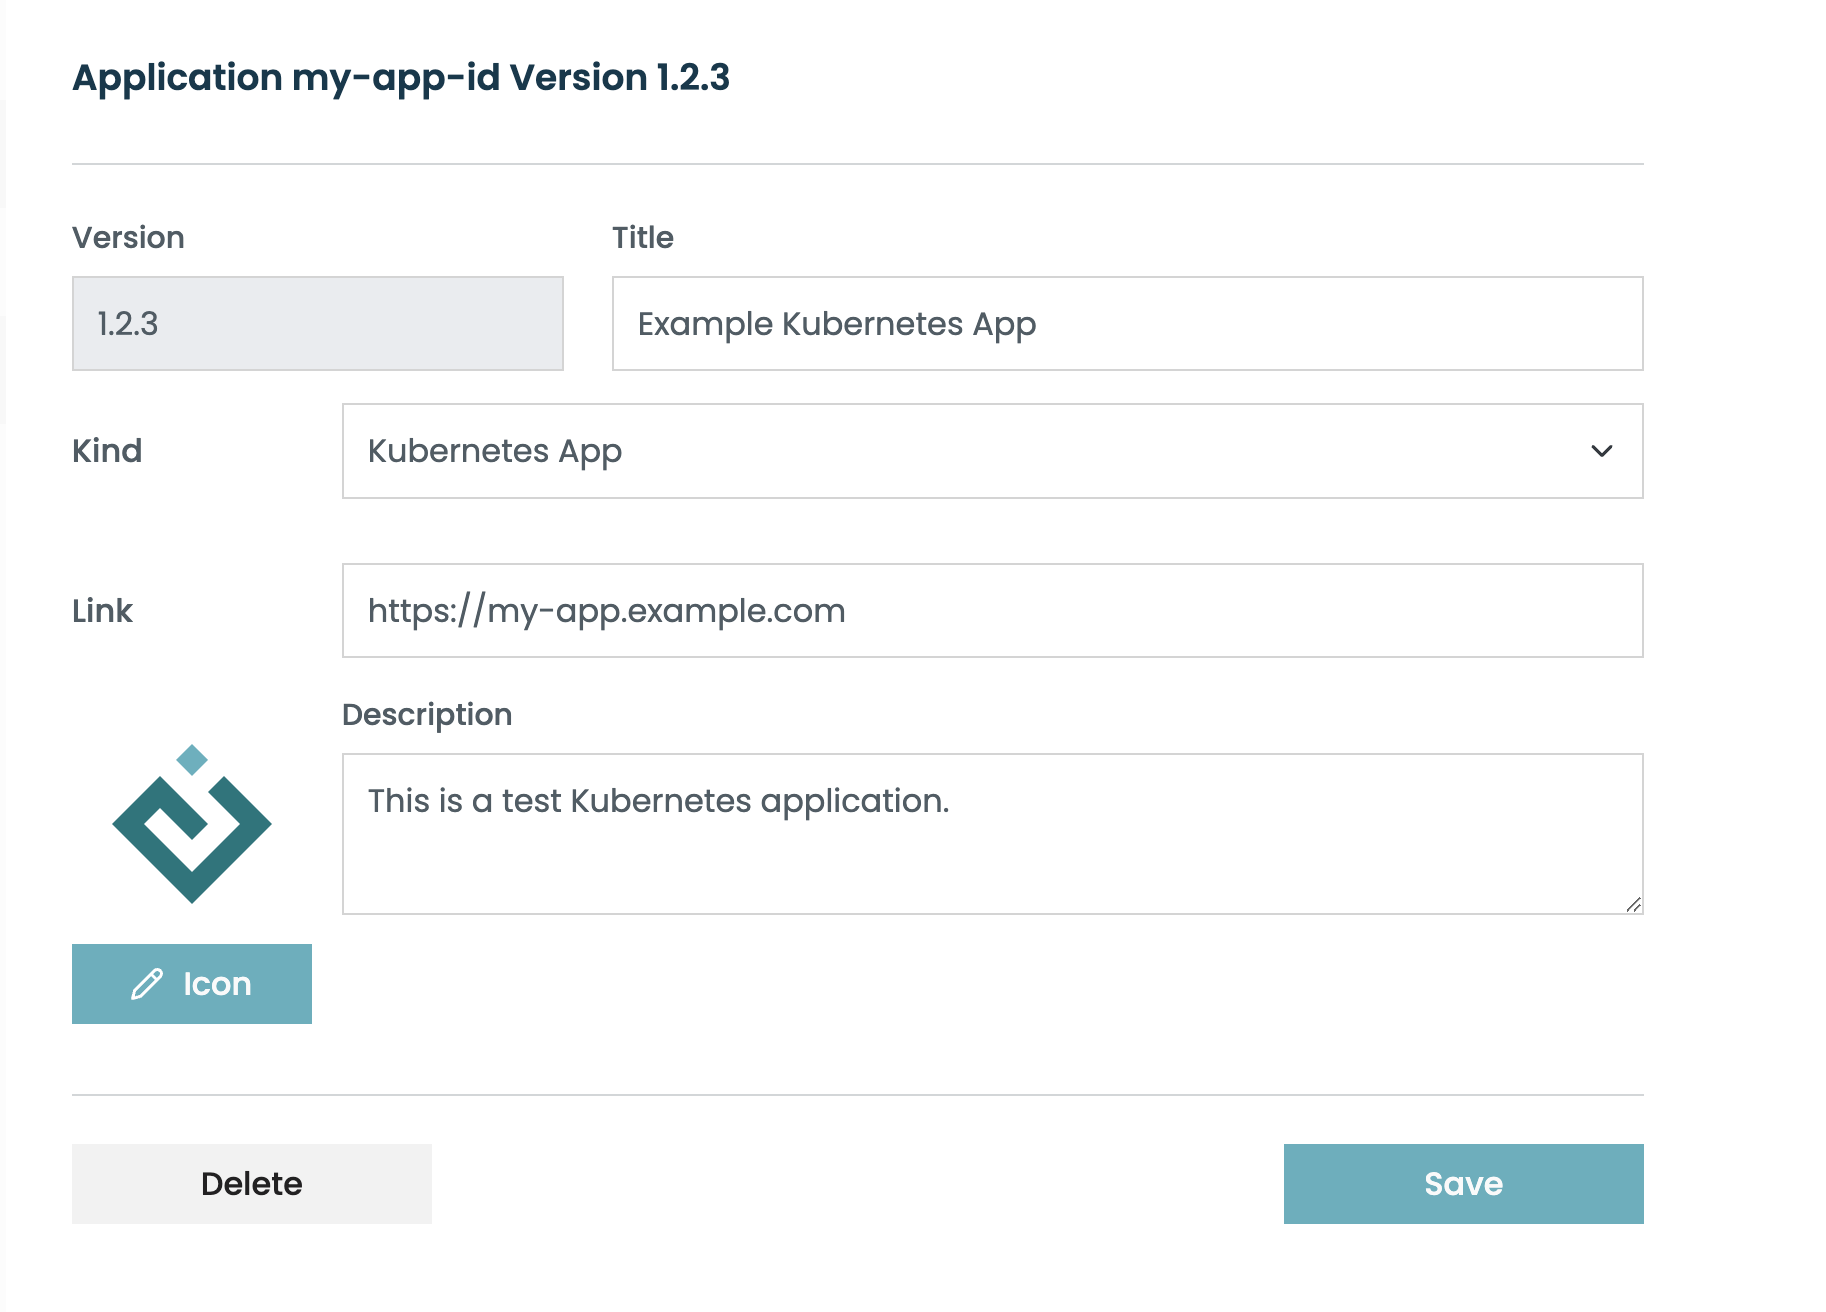
Step 2: Create an Application Version record
The "Application Version" record is used to locate the app. It contains the text and icon that will be displayed on the workbench tile.
Click "Create Version", and fill in basic information about your app. Ensure the "Kind" value is set to "Kubernetes App".
Verify that the tile appears on the Workbench:
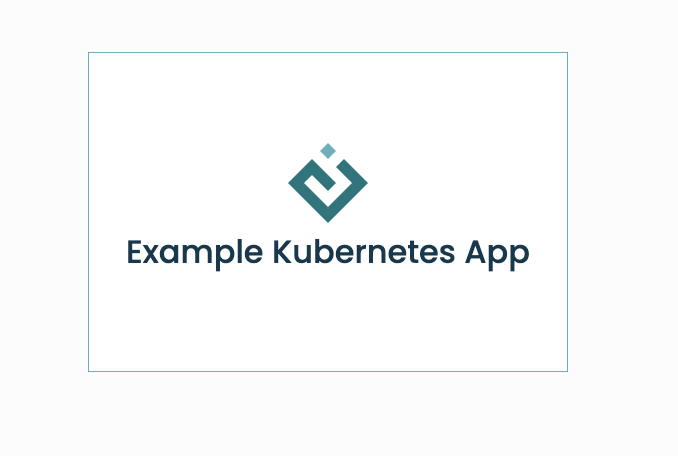
Your app will be created with the "In Review" status, which means it's visible only to other developers. When you're ready, ask your organization admin to "Approve" the app, making it visible to everyone.
Deploy your app
While Edge supports any type of application (from a single container web application to a complex distributed set of services using Kubernetes resources or cloud-native managed services), deploying your application's entry point simply involves providing a containerized web service listening on a specific port that can be deployed within a Kubernetes namespace provided by the Edge Customer Success team.
For each Kubernetes application, the Edge Customer Success team deploys the following environment on Edge:
- An isolated Kubernetes namespace
- A preconfigured set of Istio networking policies to ensure secure traffic within the namespace and associated SSL encryption between all components
- For authentication and authorization, an OAuth2Proxy service and a dedicated Keycloak client for the application
- A nodepool to control what type of nodes will be deployed to support the application's needs
- The appropriate DNS and name resolution to access your application entry point from within Edge
- Log and metrics collection to simplify monitoring and debugging of the application
In the online examples gallery we provide a template that can be used as a starting point:
- Kubernetes, an example that demonstrates how to develop and deploy a Kubernetes hosted application alongside Enthought Edge.
Secure your app
Because your app runs on the Edge Kubernetes cluster, it automatically benefits from the authentication machinery provided by Edge. As with any web application, it's important to restrict who can access the app and what they can do once logged in. Edge deploys an OAuth2Proxy service in front of your application that ensures only valid users within your Edge organization have access to the application.
Edge provides the following headers on all authenticated requests hitting your application entry point:
X-Forwarded-Email: This header conveys the email address of the user who initiated the request. This allows the backend server to personalize the user experience or to keep track of the user's identity without requiring re-authentication.X-Forwarded-Groups: This header indicates the user groups or roles associated with the user who initiated the request. It informs the backend server of the user's group affiliations, enabling role-based access control and authorization checks.X-Forwarded-Preferred-Username: This header conveys the preferred username of the user who initiated the request. It allows the backend server to address the user by their preferred name in a personalized and user-friendly manner, enhancing the user experience.X-Forwarded-User: This header provides the unique identifier for the user who initiated the request. This identifier is often assigned by the identity provider and can be used by the backend server to uniquely distinguish between different users. It is essential for tracking user activities, maintaining user sessions, and ensuring that user-specific data is correctly associated with the appropriate user.X-Forwarded-Display-Name: This header contains the display name of the user who initiated the request. The display name is typically a more readable and formatted version of the user's name, such as "John Doe" instead of "jdoe." It is used by the backend server to present a more human-readable and aesthetically pleasing identifier for the user in user interfaces, notifications, and other communications.